Ever since digital marketing became more widespread, tracking utm has been one of the hottest topics.
Now let’s answer the million-dollar question…
How can your track UTMs in your blog, WordPress, page builder, and so on?
Though the answer (as usual) varies depending on your need, I’ll give a straightforward method to get the message across.
Arguably the best way to track UTMs is via client-side (JavaScript). There are many reasons, but I’m not going to discuss them in this post.
OK. Without further ado, let’s get to the bottom of this…
Very high-level tracking boils down to three main steps:
1. Append UTMs to your landing page URL
As you can see, the assumption here is the traffic coming to your website has UTMs attached to it.
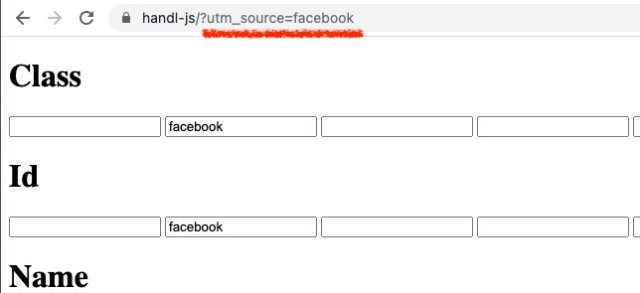
So, it will look like this.
domain.com/somepath?utm_source=facebook

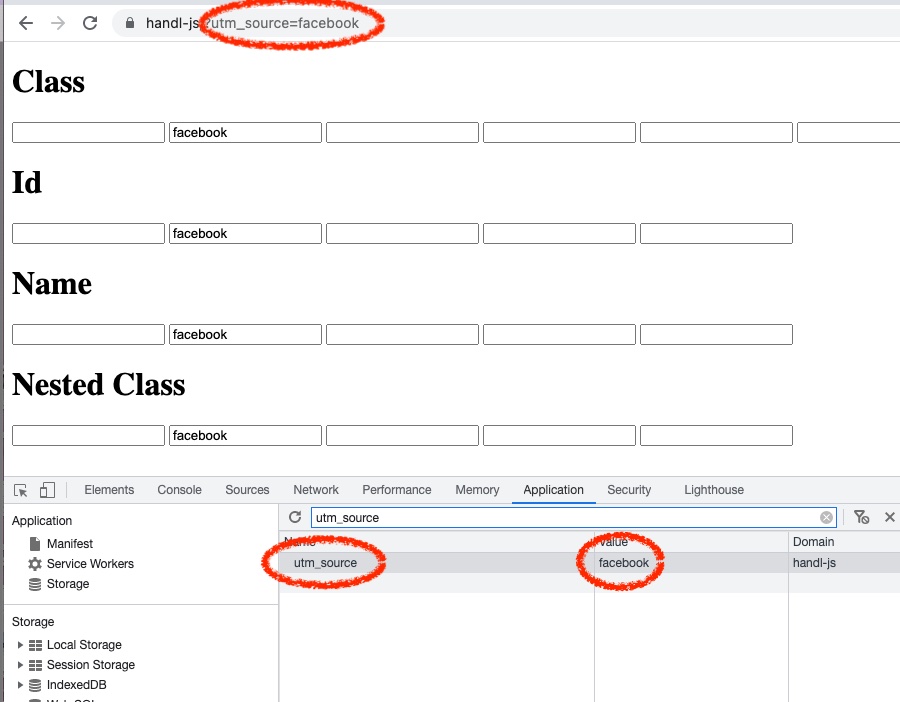
2. Grab the parameter and store them in Cookies
So how can we get/collect/grab this data (utm_source) and keep it secure and persistent until the conversion?
The answer is straightforward…
					var urlParams = new URLSearchParams(window.location.search);
var utm_campaign = urlParams.get('utm_campaign')
So this helped us grab the utm_campaign parameter. Now how can we store this? Again it is easy…
document.cookie = `utm_campaign=${utm_campaign}`;

This will create a cookie in the user’s browser for utm_campaign, which will persist in the cookies forever. Well, not quite technically, but let’s move on…
3. Pull the parameter into hidden field from Cookies
Our next step is pulling this info in your opt-in form or checkout page. For this, you need a hidden field created in your form.
<input type="hidden" name="utm_campaign" />
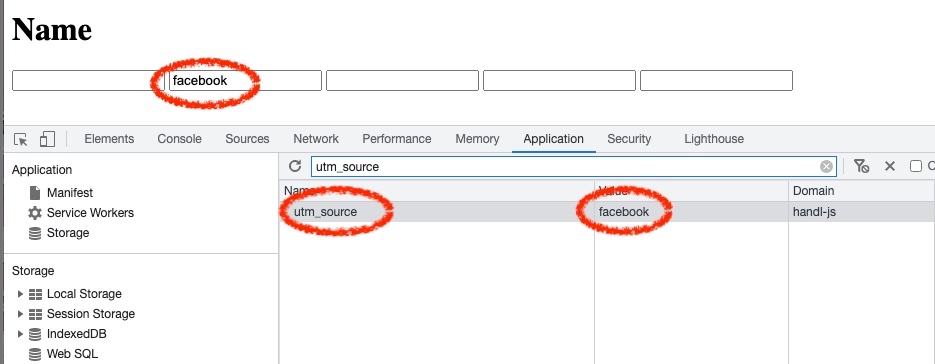
Now, let’s fill in the value of this field behind the scene…
document.querySelector("input[name=utm_campaign]").value = utm_campaign

That’s literally it; this is the fundamental way of tracking any parameter you want and passing it to your lead form.


